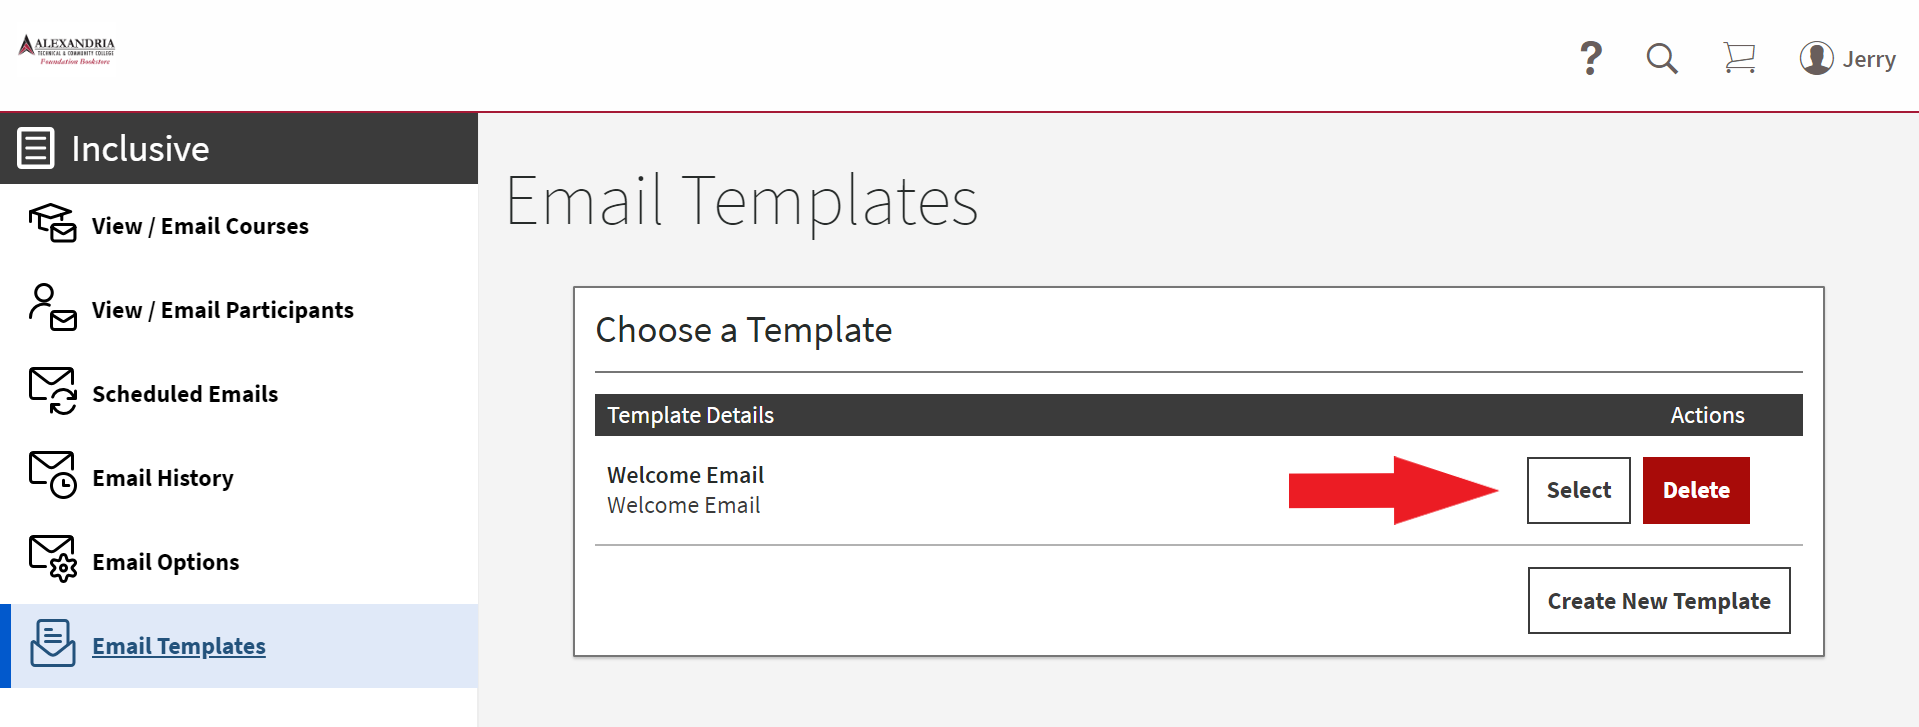
When drafting an email to a specific course, you have the option to create a new email or use an existing template. To use a template, click Select a Template.
Click Select to edit your chosen email.

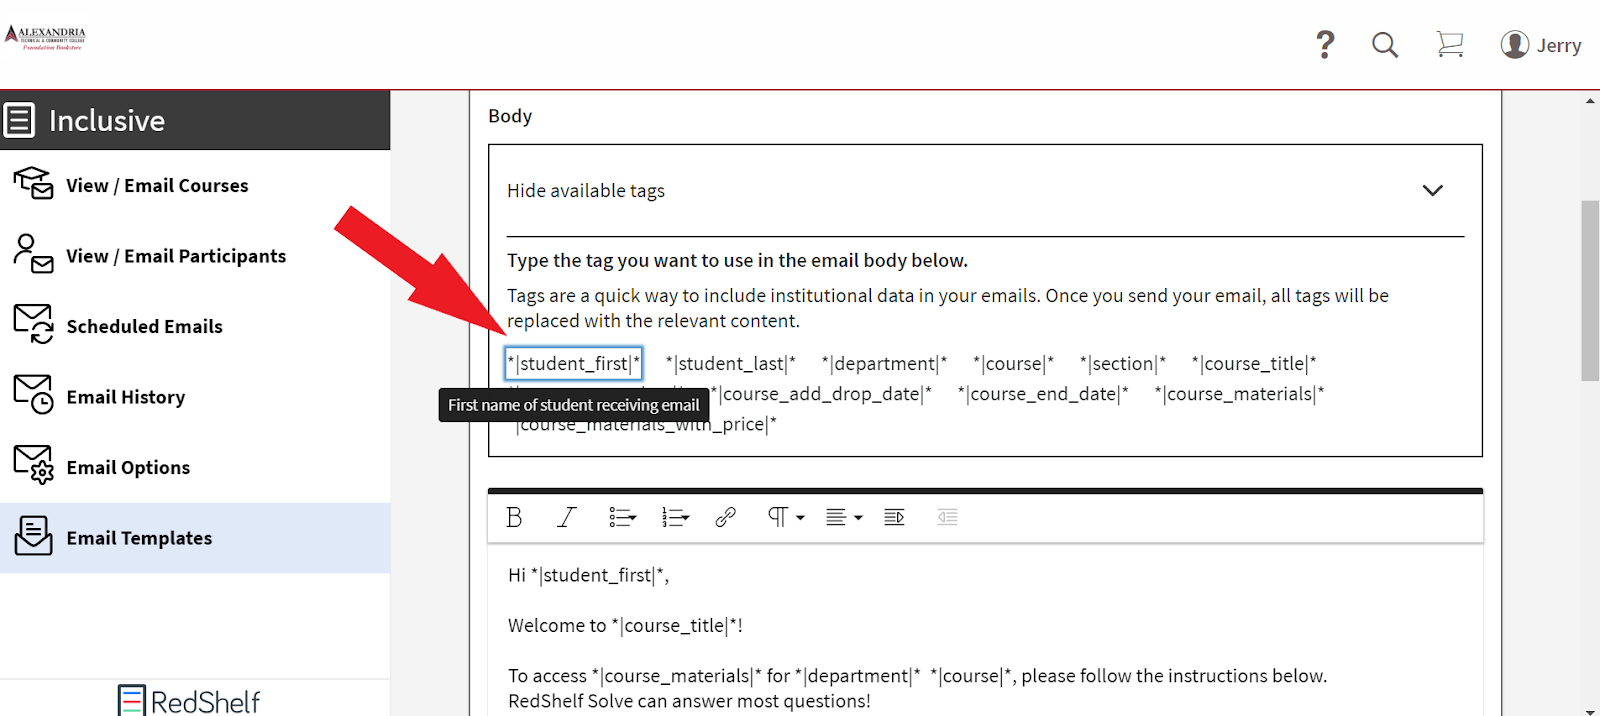
Next, you will be brought to your email template, where you can make changes.

If you do choose to use tags, you’re able to click the tag to see where to use it in the body of your email. You can copy and paste these tags, or you can type them - start a tag with “*|”, input the tag, and then close the tag with “|*”.

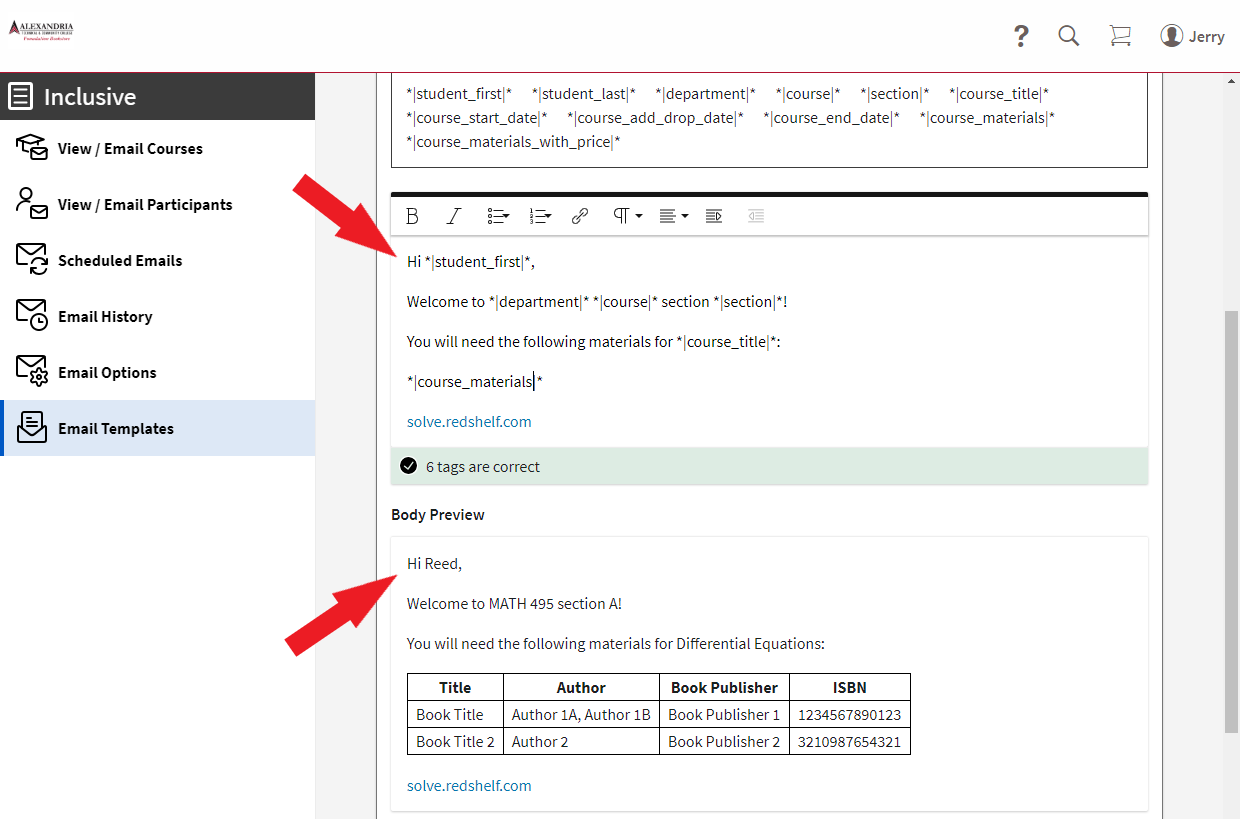
Whatever you type in the body of the email, including the tags, shows as a preview underneath. This populates “fake data,” but helps the user see a preview of the email. The preview also confirms the tags you’ve included. If you typed 6 tags in the body of the email and “6 tags are correct,” you’re on the right track!

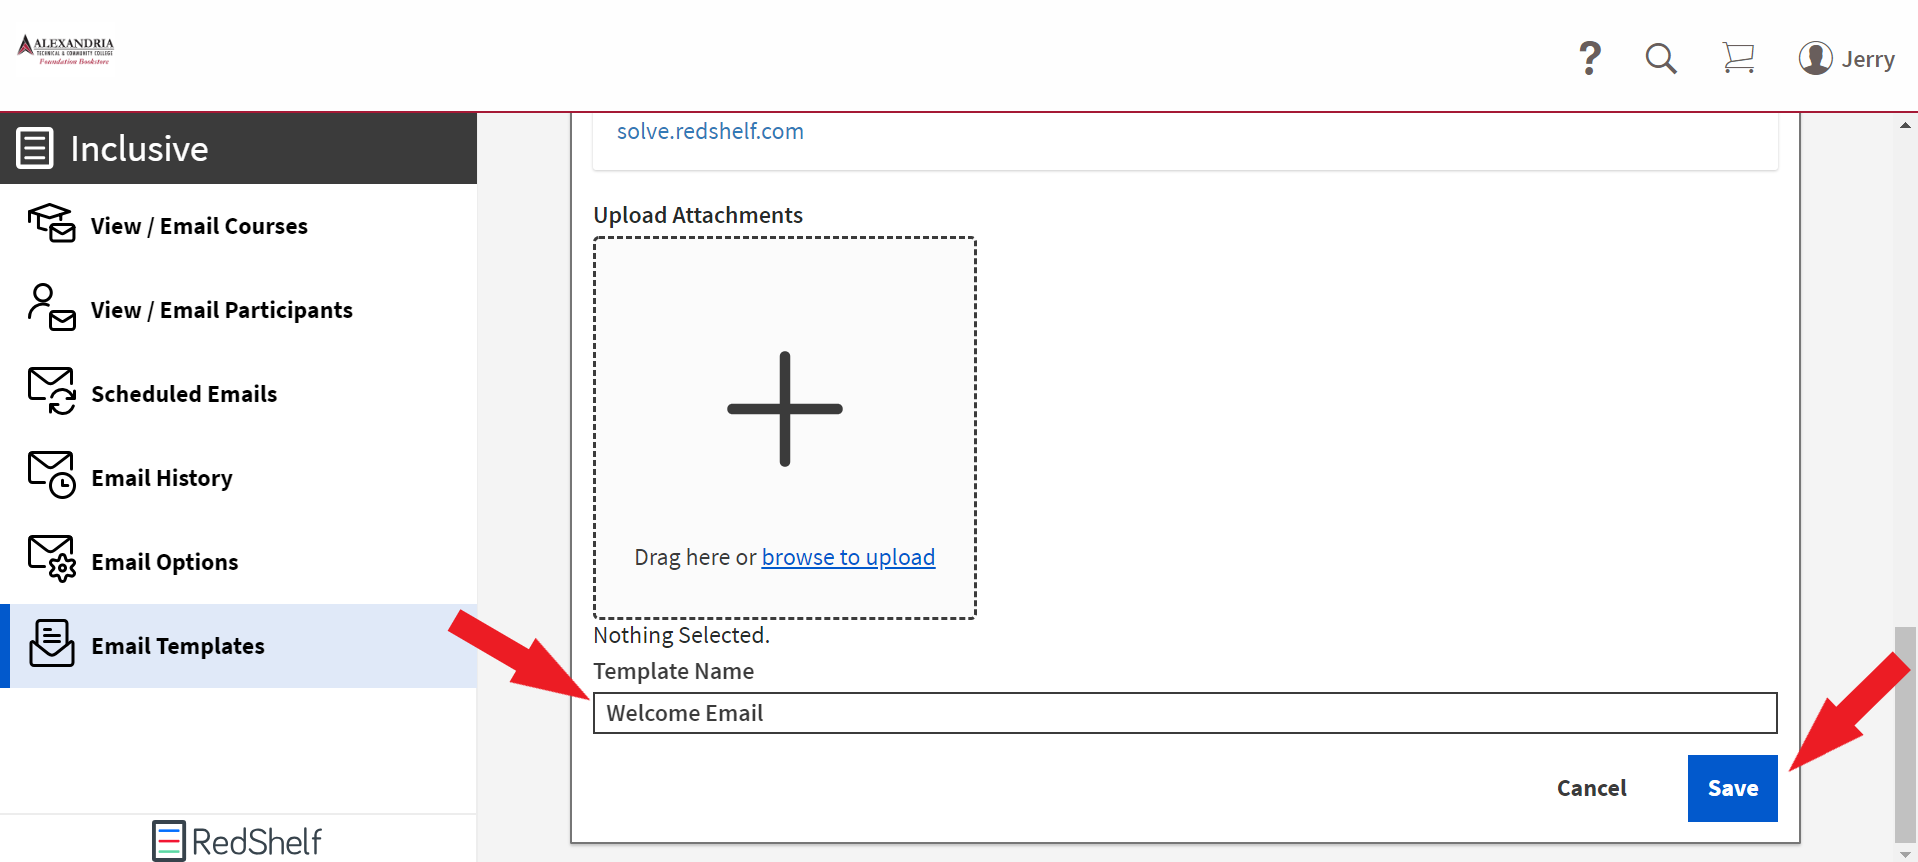
Once you're ready, add any necessary attachments, name your template, and select Save.

For reference, here's what a student would see upon receiving the example email sent through this dashboard:
-
Mail merge does not work in a template’s subject line.
-
Any field that we do not pull or is not provided to us won't populate. If we do not have a student’s first name in the database, for example, a blank space will appear where the name would be.
