Installation
First and foremost you will obviously need to download the WinSCP program onto your computer.
This is a small package, and does not include any blotware or spamware, so you will be able to quickly and easily install the software without issue.
- Download HERE
Once downloaded onto your computer, if a link does not appear at the bottom of your browser window, you will be able to find the application in your downloads folder.
You can launch the installation file like other Windows programs by double-clicking.
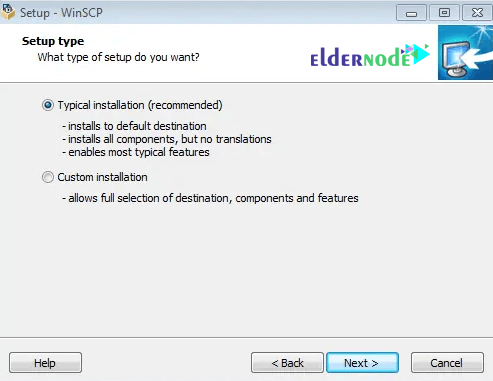
- If requested while installing the program, select the (typical) option.
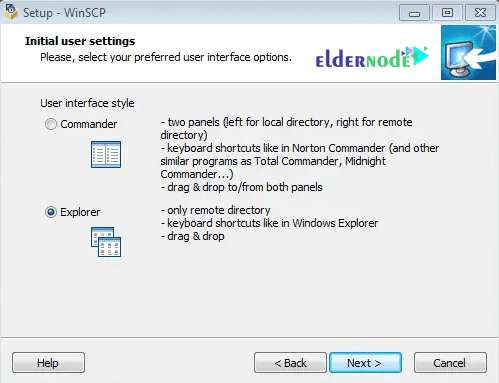
In the initial user setting window, select the explorer option as the user interface. This is one of the most important installation settings in the WINSCP usage tutorial.
Complete the installation by clicking the next button. You might need to restart your computer to complete the install, but it should not be necessary.
Connecting to the RedShelf FTP
To launch the WinSCP program, Double-click on the WinSCP shortcut or run the program from the all programs section in your Windows start.
A window titled login will be displayed asking for information such as Hostname, username, and password.
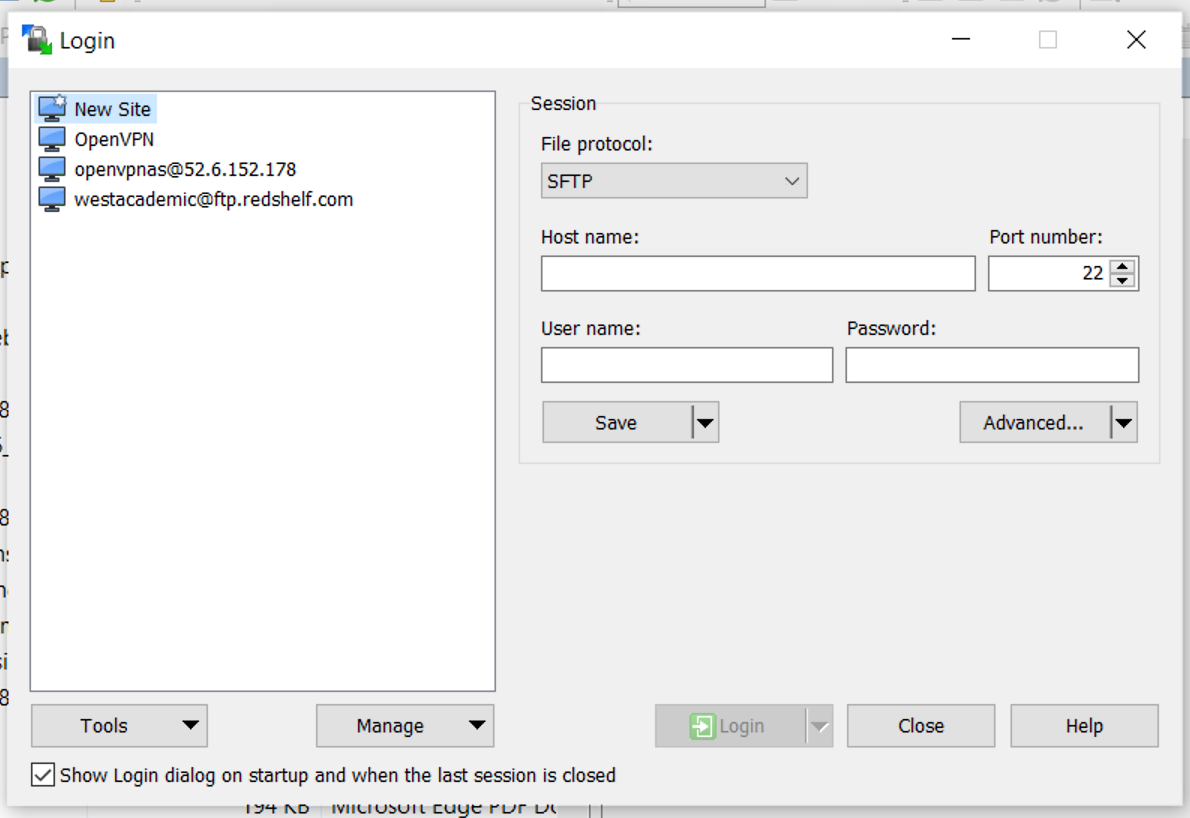
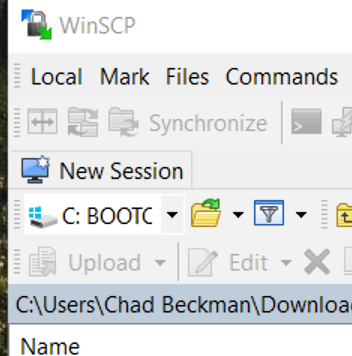
This should appear automatically, but if it does not, you can select the NEW SESSION icon in the upper left corner
All of this information will have been sent to you by someone from RedShelf, or may have been shared with you from someone within your organization. This is always unique to your company, so do not share this.
- as an aside DO NOT email this information outside your organization. Email is not a very secure form of communication with people outside your organization. Inside there are security protocols in place to ensure that the emails sent remain secure. But once it leaves your company, assume that anyone can read it.
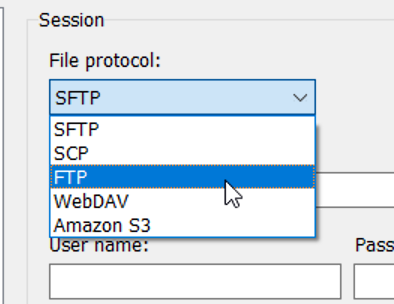
Select the transfer protocol from the available drop-down list.
- for a quick reference see the difference HERE
- typically you would choose FTP
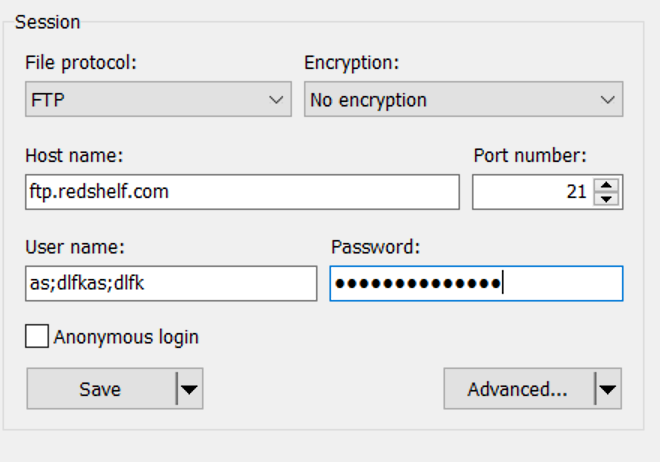
In the host name field, type ftp.redshelf.com and after entering the username and password, click on login.
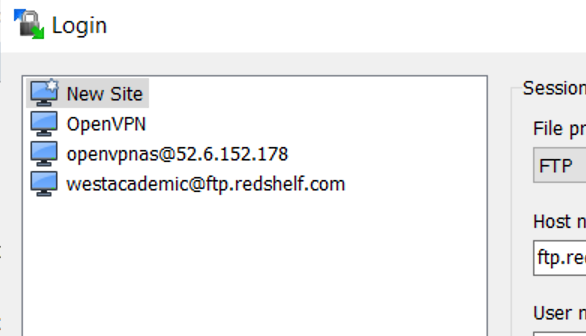
To save yourself some time when you next connect, after you have set up the connection, you can choose to SAVE which will add the connection to a list on the left side. This will allow you to simply click on that saved connection and everything will automatically populate.
Once you click the LOGIN button at the bottom, you will get a connection screen and then the right side of the screen will be populated with information regarding your FTP connection on the RedShelf Server.
NOTE
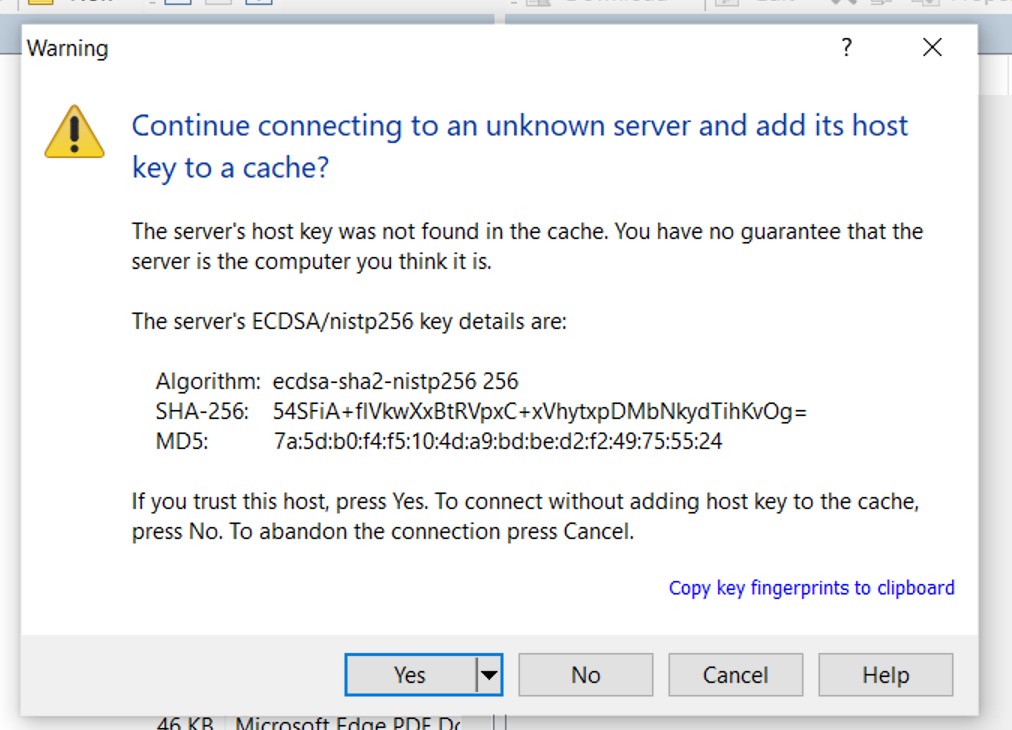
During your FIRST connection, and once a year (when RedShelf updates the credentials) you will receive a certification prompt. This is a GOOD thing, as it is assigning a certificate to your computer to ensure that you are actually connecting to the RedShelf FTP. Click on YES
Once you have connected, you will be able to see the RedShelf FTP on the RIGHT and your machine on the LEFT.
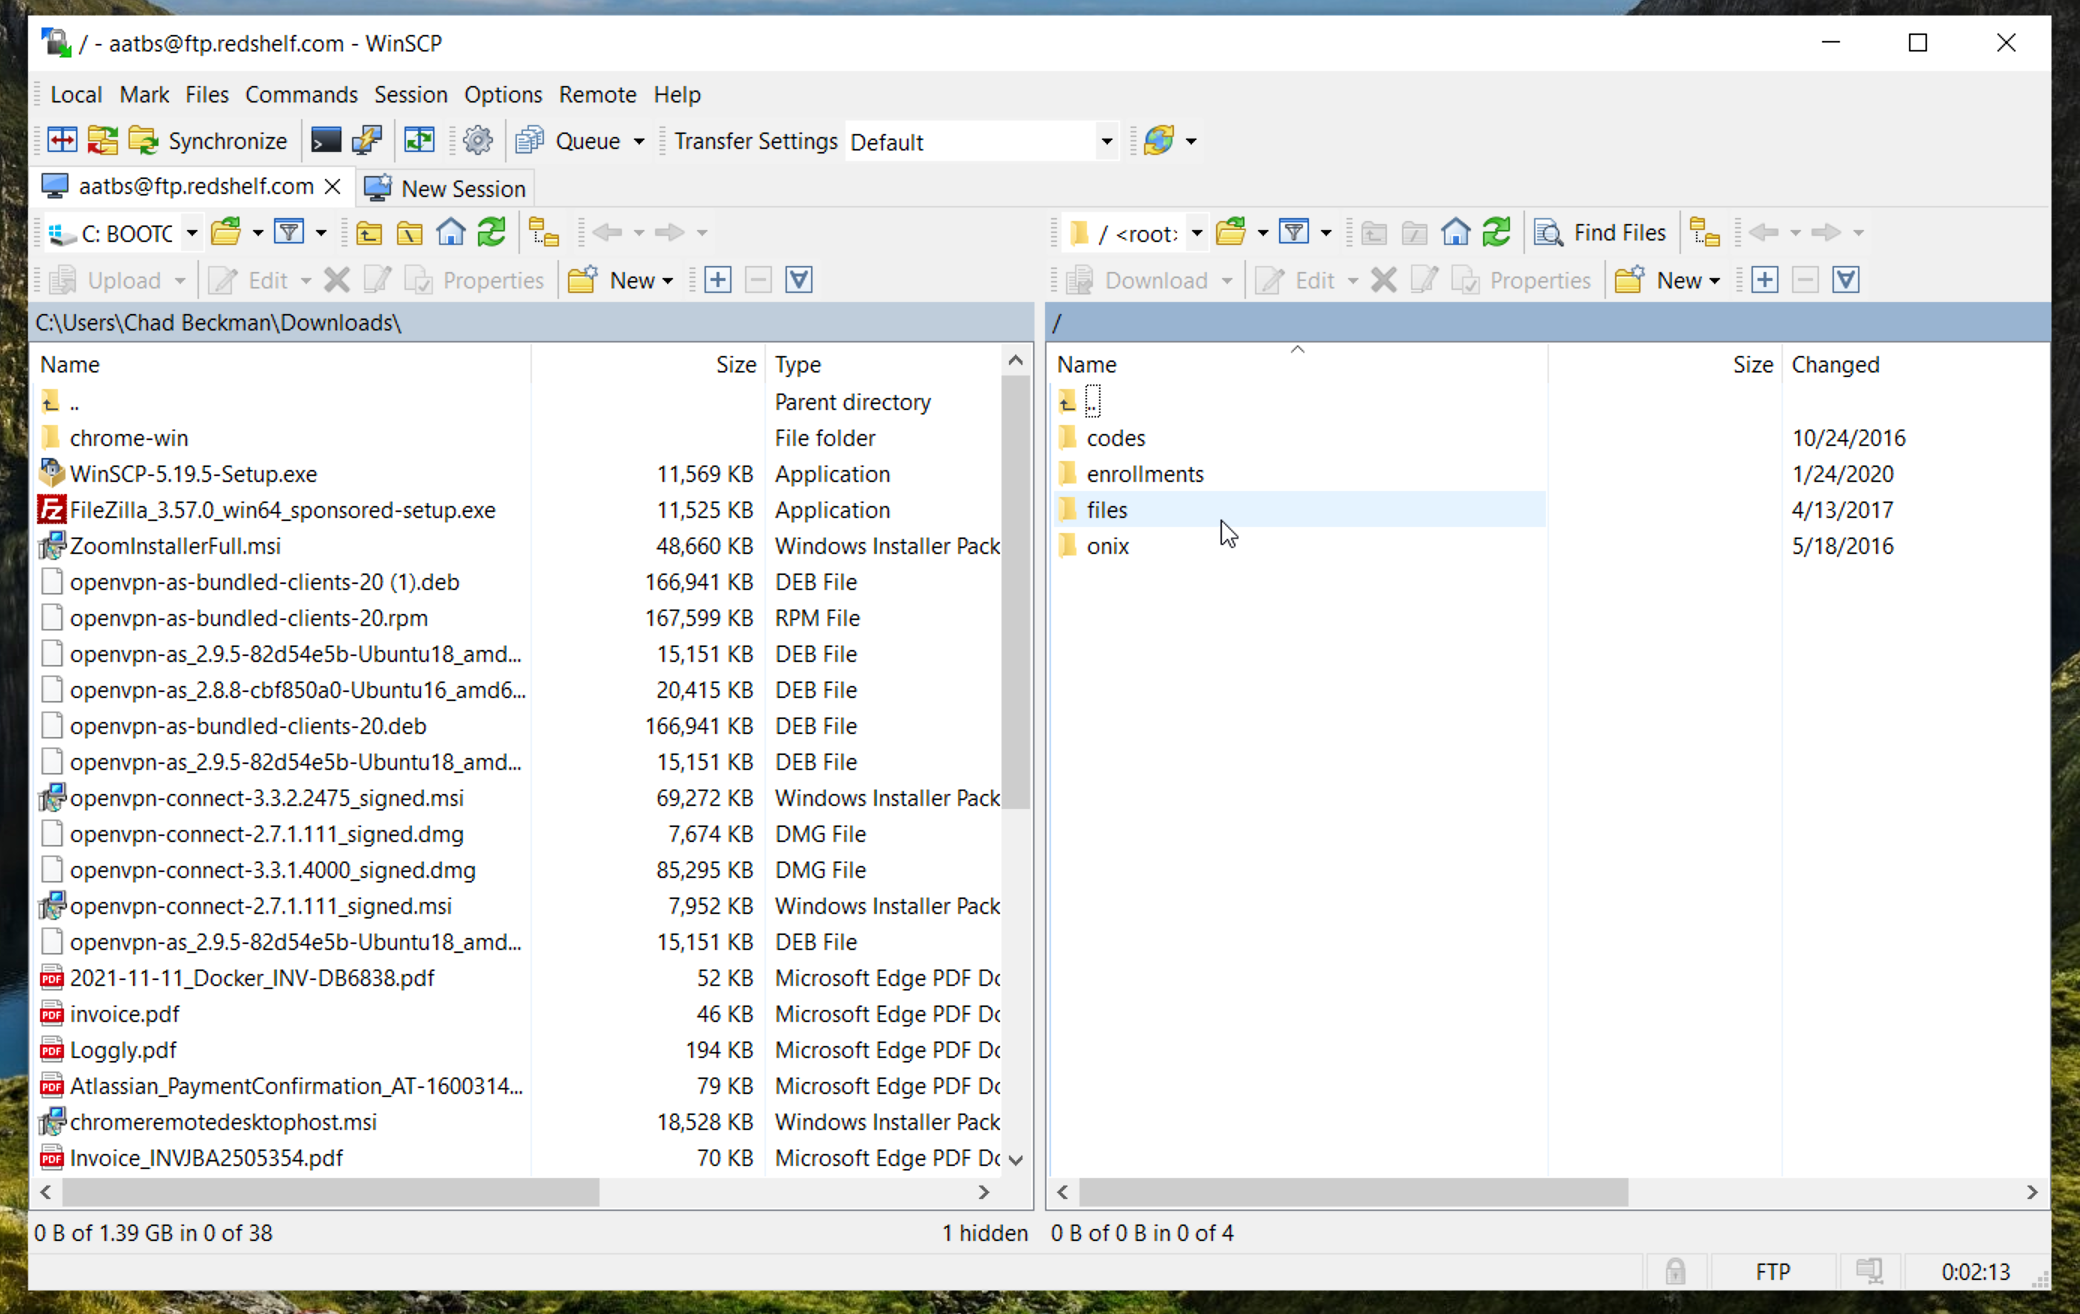
From here you can simply DRAG and DROP the information from your computer to the server and the information will be uploaded directly to that location.
